I don't know how some folks rivet on the forward skins prior to creating the vent lines, completing the flares and fittings, and then getting them into the gear tower, but some do.
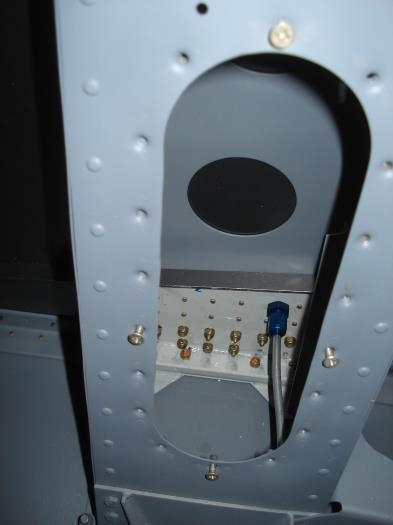
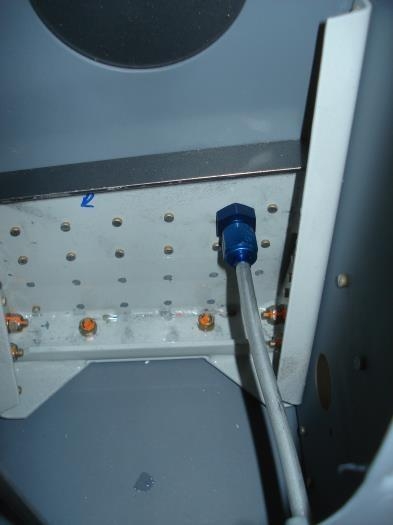
The right gear tower was prepped and the vent line flared and fitting applied prior to the skins being clecoed into postion. The vent line was placed back into the tower and an adel clamp secured it to the gear tower. I will probably get some vinyl tubing down the road to cover the vent line to prevent any rubbing within the tower.
Once done, the forward section components were clecoed into position and the rivets not to rivet were identified and marked. I started at the top with the keep rivets in the upper longeron and then made my way down the gear towers. Once the gear towers were completed, I riveted the aux longeron.
I also placed a bead of black RTV where the forward skin mates up with the firewall. It was smoothed once the skin was clecoed into position, but it is definately a tight space.
I also placed the screws into position in the gear tower, but there are not torqued in case they have to come out.
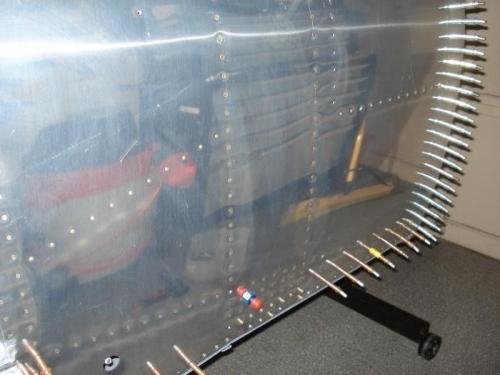
I was able to rivet the entire forwrd skin without any help. A little uncomfortable, but doable. I removed 4 rivets that I didn't care for and replaced them.